A to-do list is the simplest way to keep track of your everyday tasks from grocery shopping to chores to responding to emails. But life isn’t always simple. When you’re faced with a more ambitious goal like launching a new business, preparing a final report, or planning a wedding, you’ll need more than a to-do list — you’ll need a project.
The good news is projects don’t have to be complicated. After 10 years and over 100 million projects created, we’ve collected our insights into this step-by-step guide to completing any project in Todoist. So pick out a big goal you’ve been hoping to make progress on and let’s get started.
Step 1: Create a new project
The first step is to create a new Todoist project — a clean slate where you can add, organize, and complete tasks for just this one goal.
To start out, it’s easiest to add your first project tasks using Todoist for Web, Mac or Windows. The bigger screen size makes it easier to see the big picture and rearrange tasks as you go.
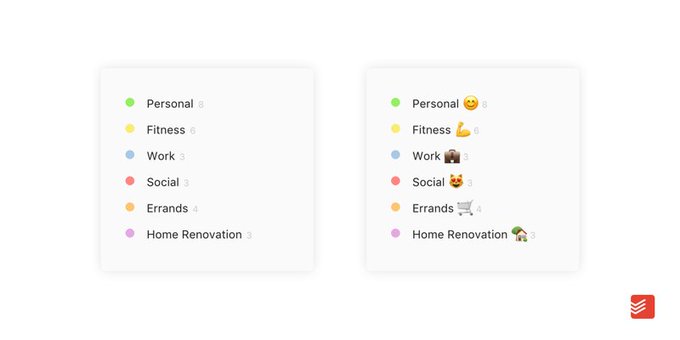
To keep your project top of mind, drag-and-drop it to the first spot in your project list. Just click on the handle to the left of the project name and drag it upwards. You can make your project stand out even more by changing its color or adding a descriptive emoji or two.
Step 2: Start with the end goal
It’s tempting to start at the beginning, but working backward from an endpoint is proven to up the odds of reaching your goals.
Before you do anything else, ask yourself two questions:
- What do I want the result to look like when I’m done?
- When will it be finished?
Use your answers to create your first task — the very last one you’ll complete — and set a final due date.
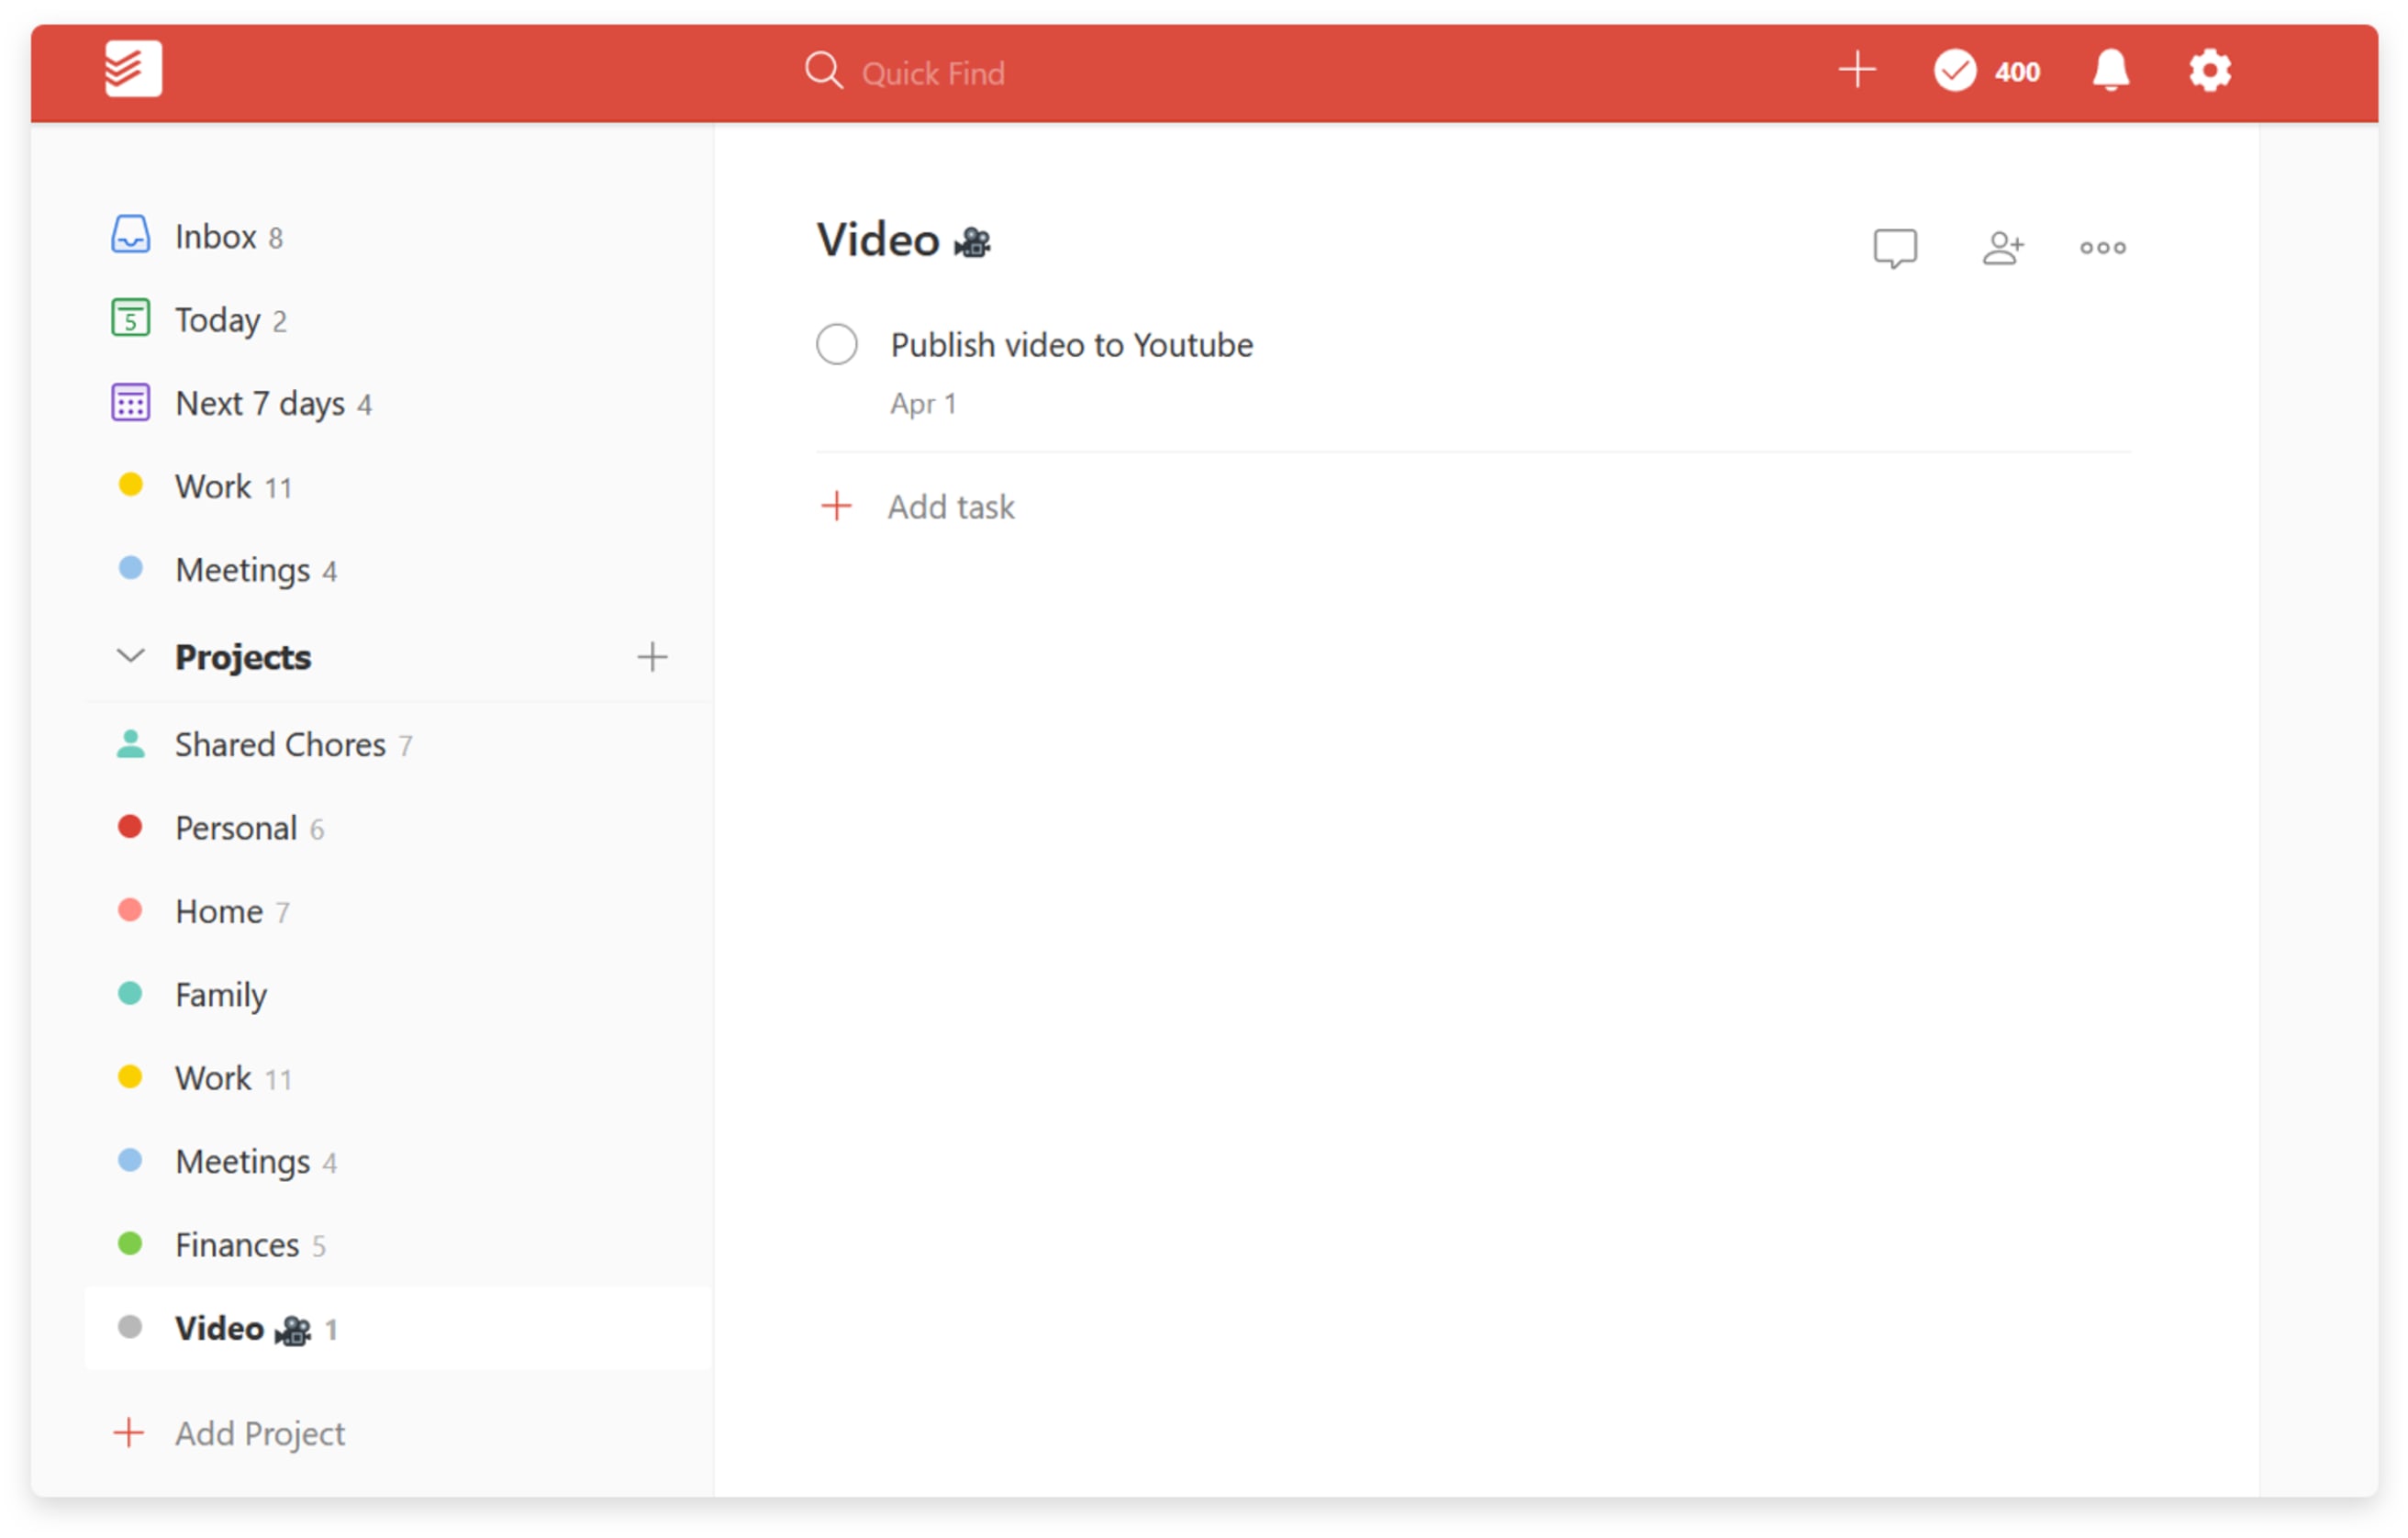
When scheduling a project, a good rule of thumb is to take your first estimate and double it. It may seem like overkill, but research shows that we underestimate the time it takes to do a task even when we know we’re likely to underestimate. You’ll give yourself ample time to deal with unforeseen issues, and if you do end up finishing ahead of schedule all the better.
Step 3: Get it all down
Scriptwriters often call their first draft the “vomit draft”. It’s where they turn off their inner filter and write down everything they can think of — smart, stupid, and otherwise. Take the same approach when starting your project — get every task you can imagine out of your head and into Todoist. No wrong answers, no bad ideas, no need to organize. Just spit it out.
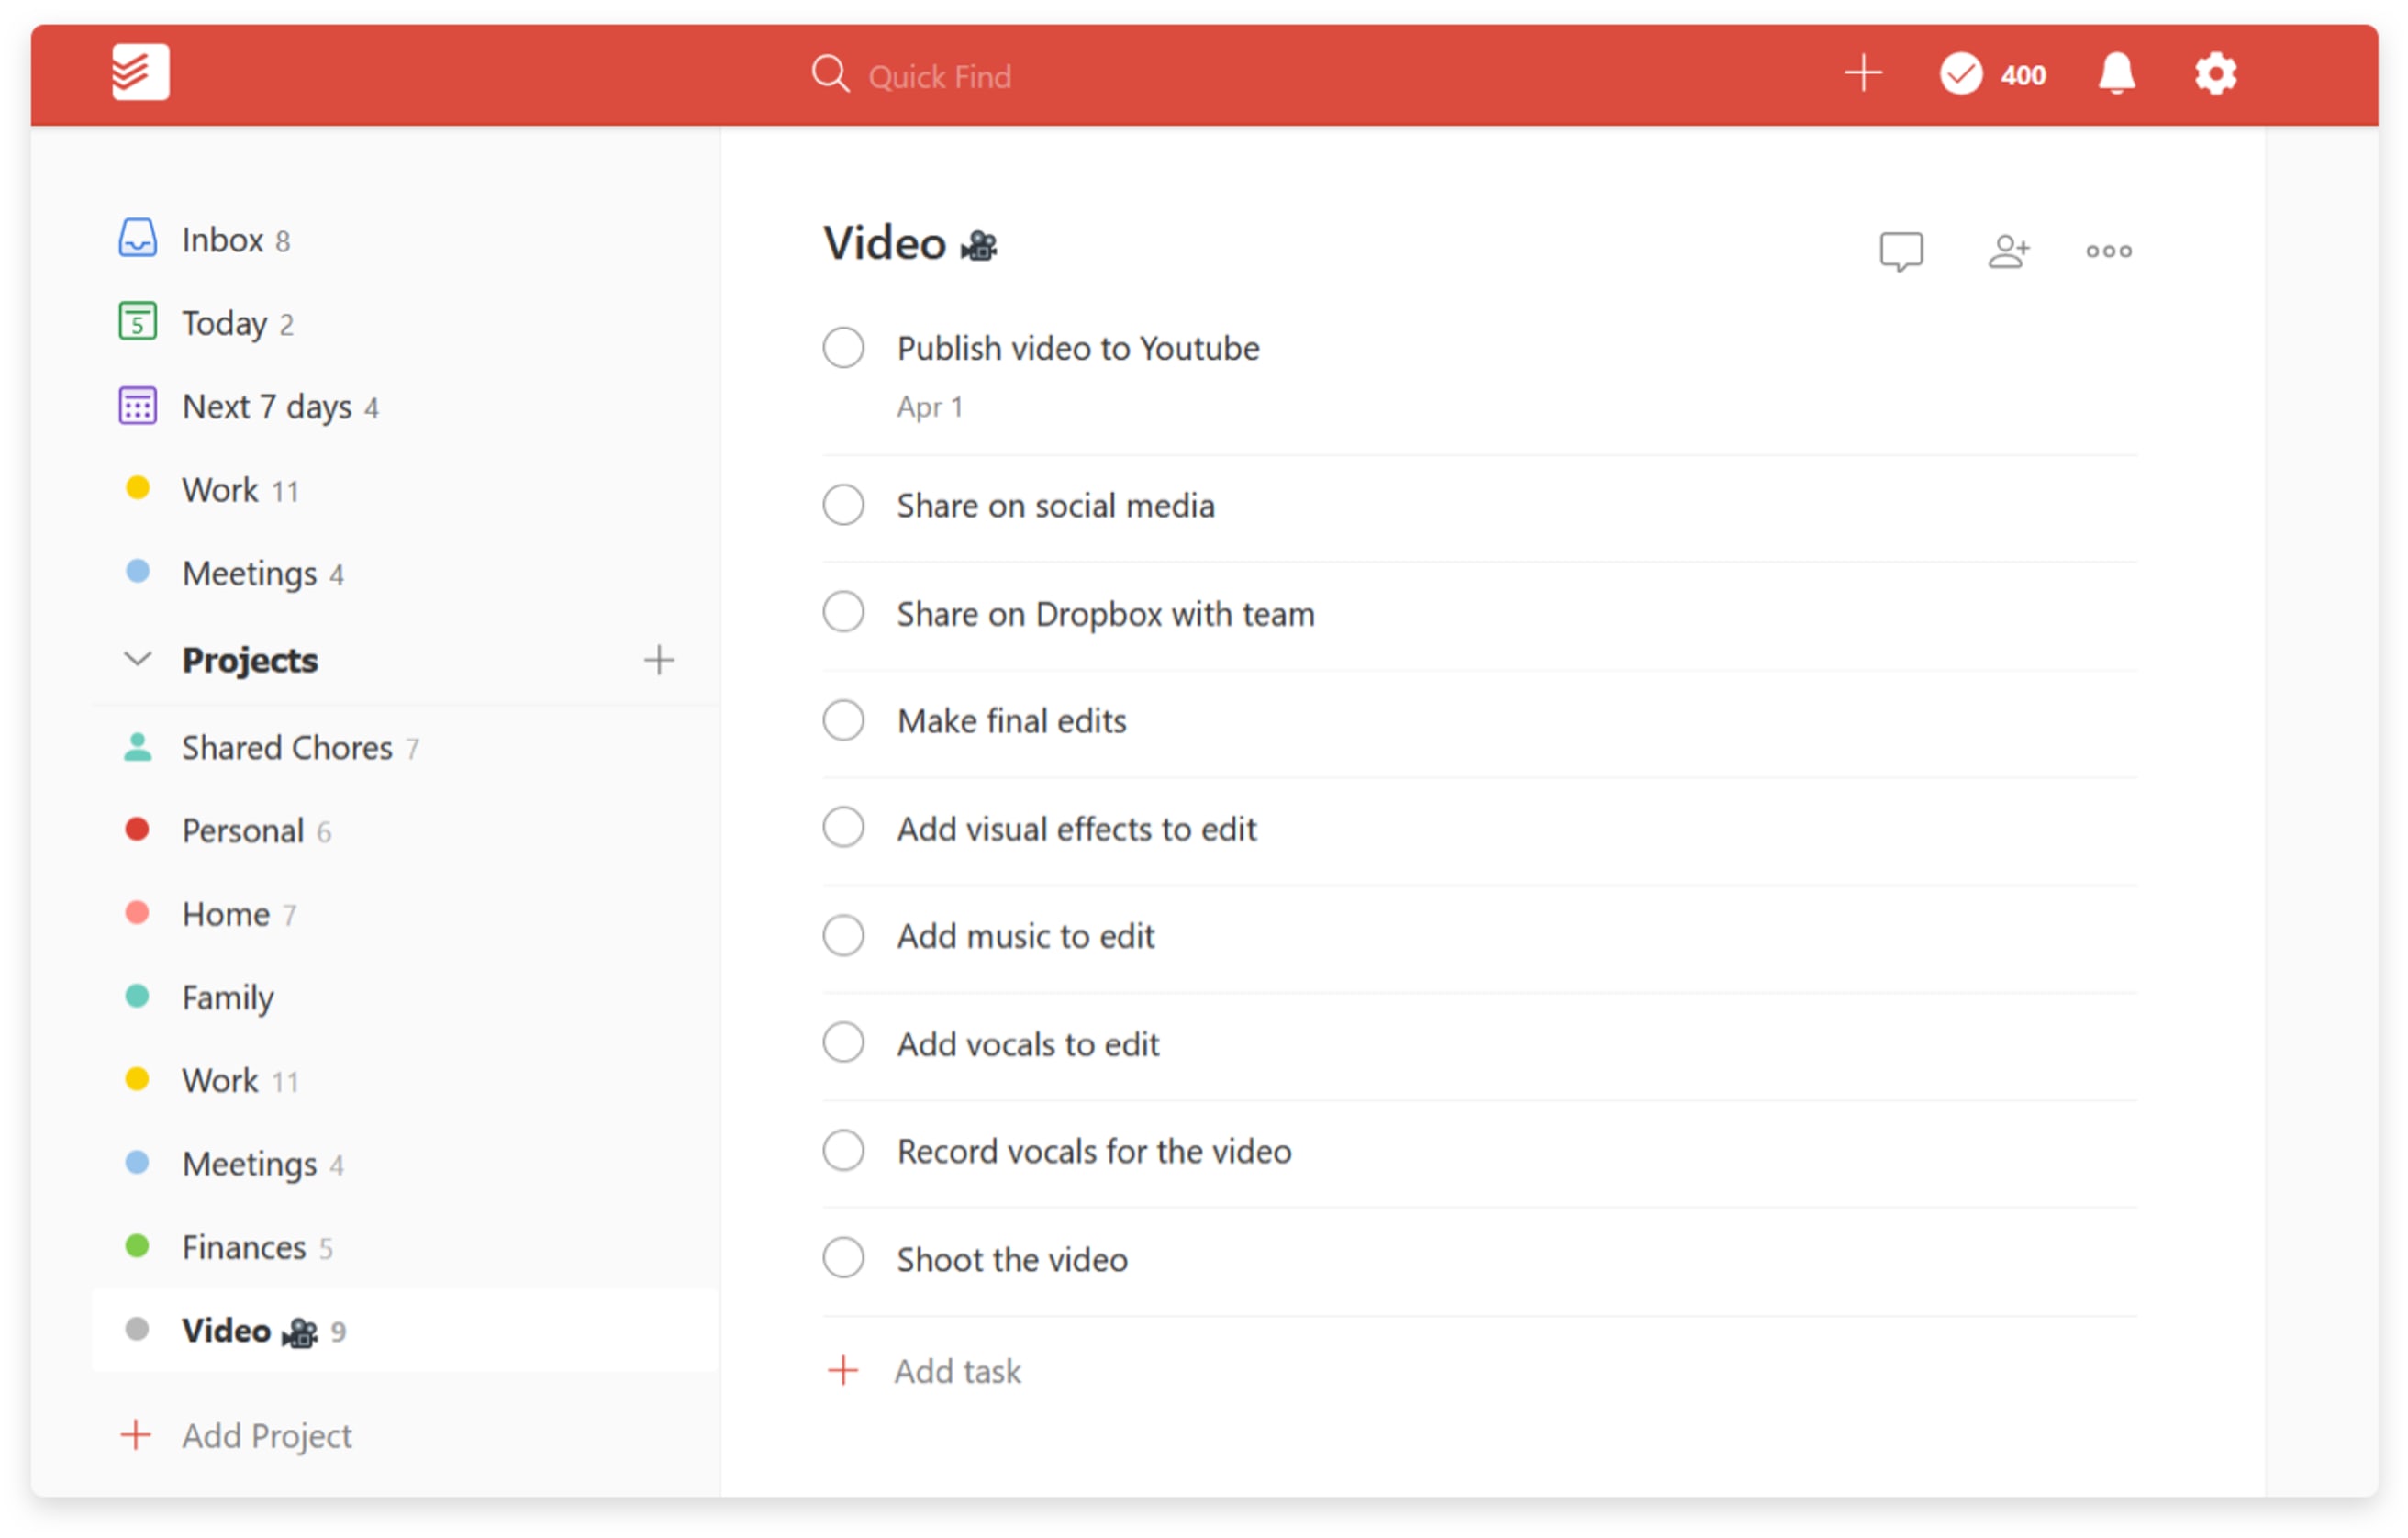
You can quickly enter your tasks one after another by hitting enter to save and automatically start the next one. On the web, you can also paste multiple lines of text from any document into the task input field from the project view to automatically create a whole series of tasks — one for each line.
Step 4: Organize your tasks
Now that you’ve wracked your brain for every task you can imagine, it’s time to put them in order. Start by grouping related tasks into sections.
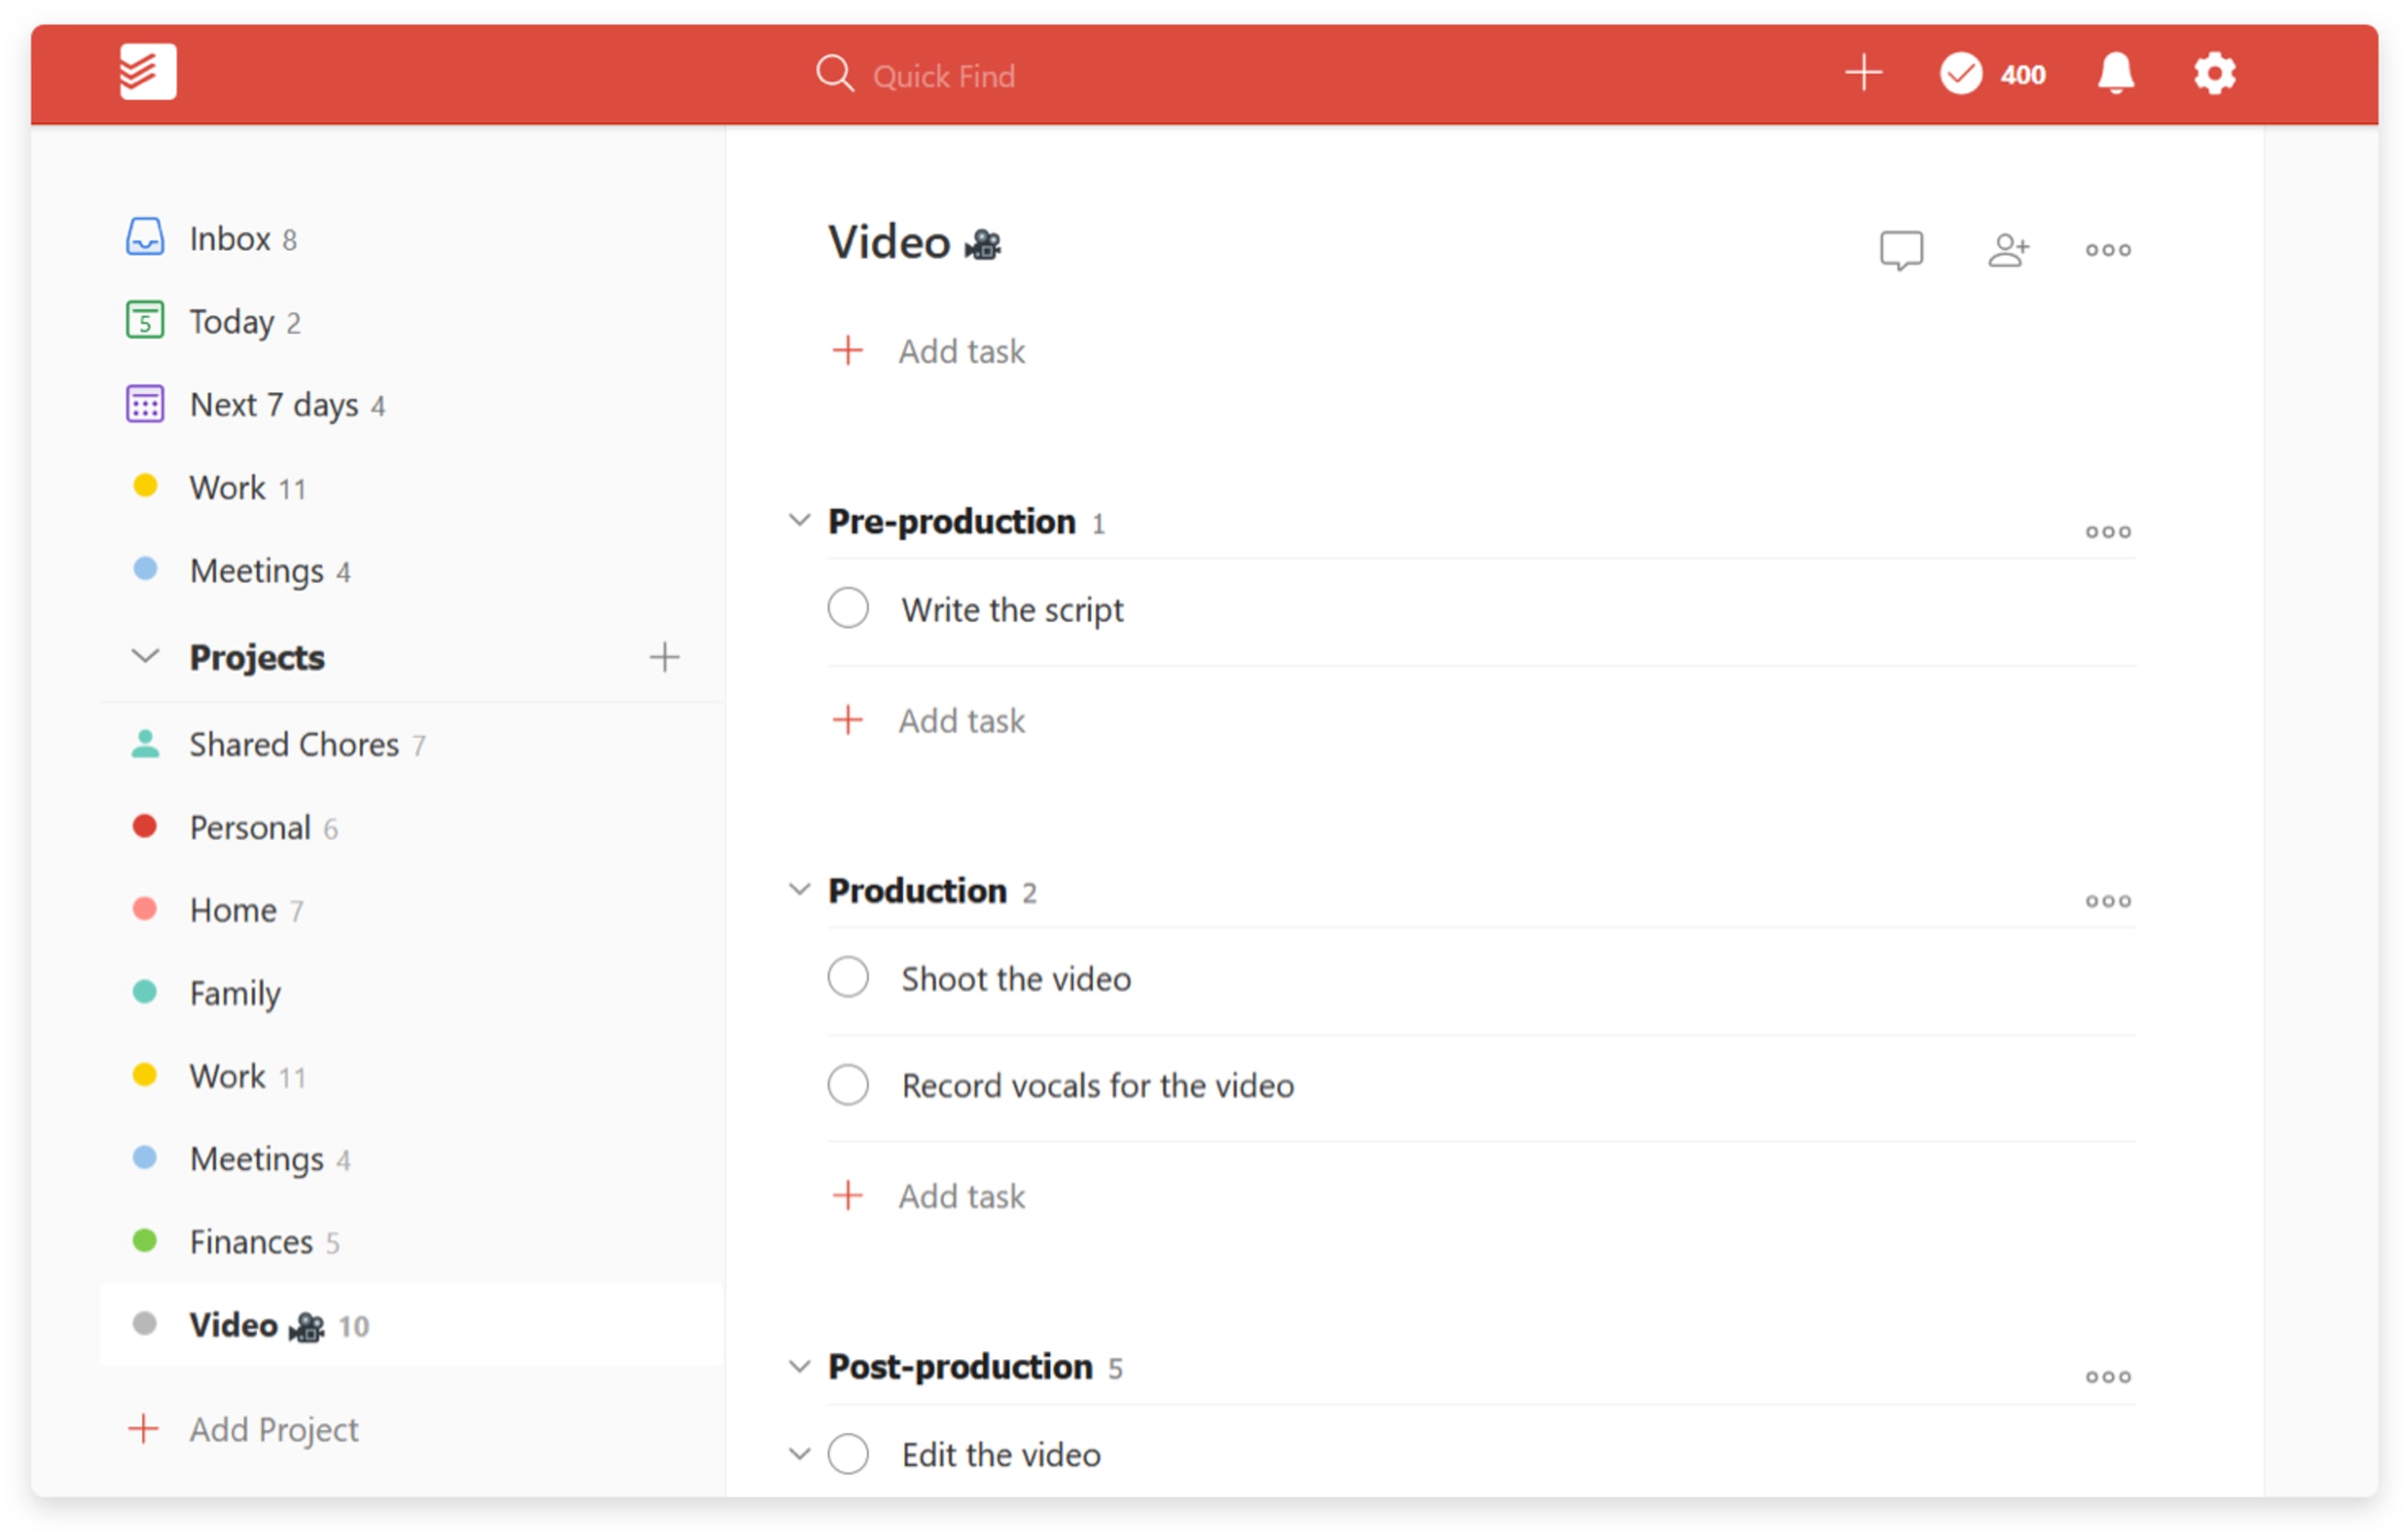
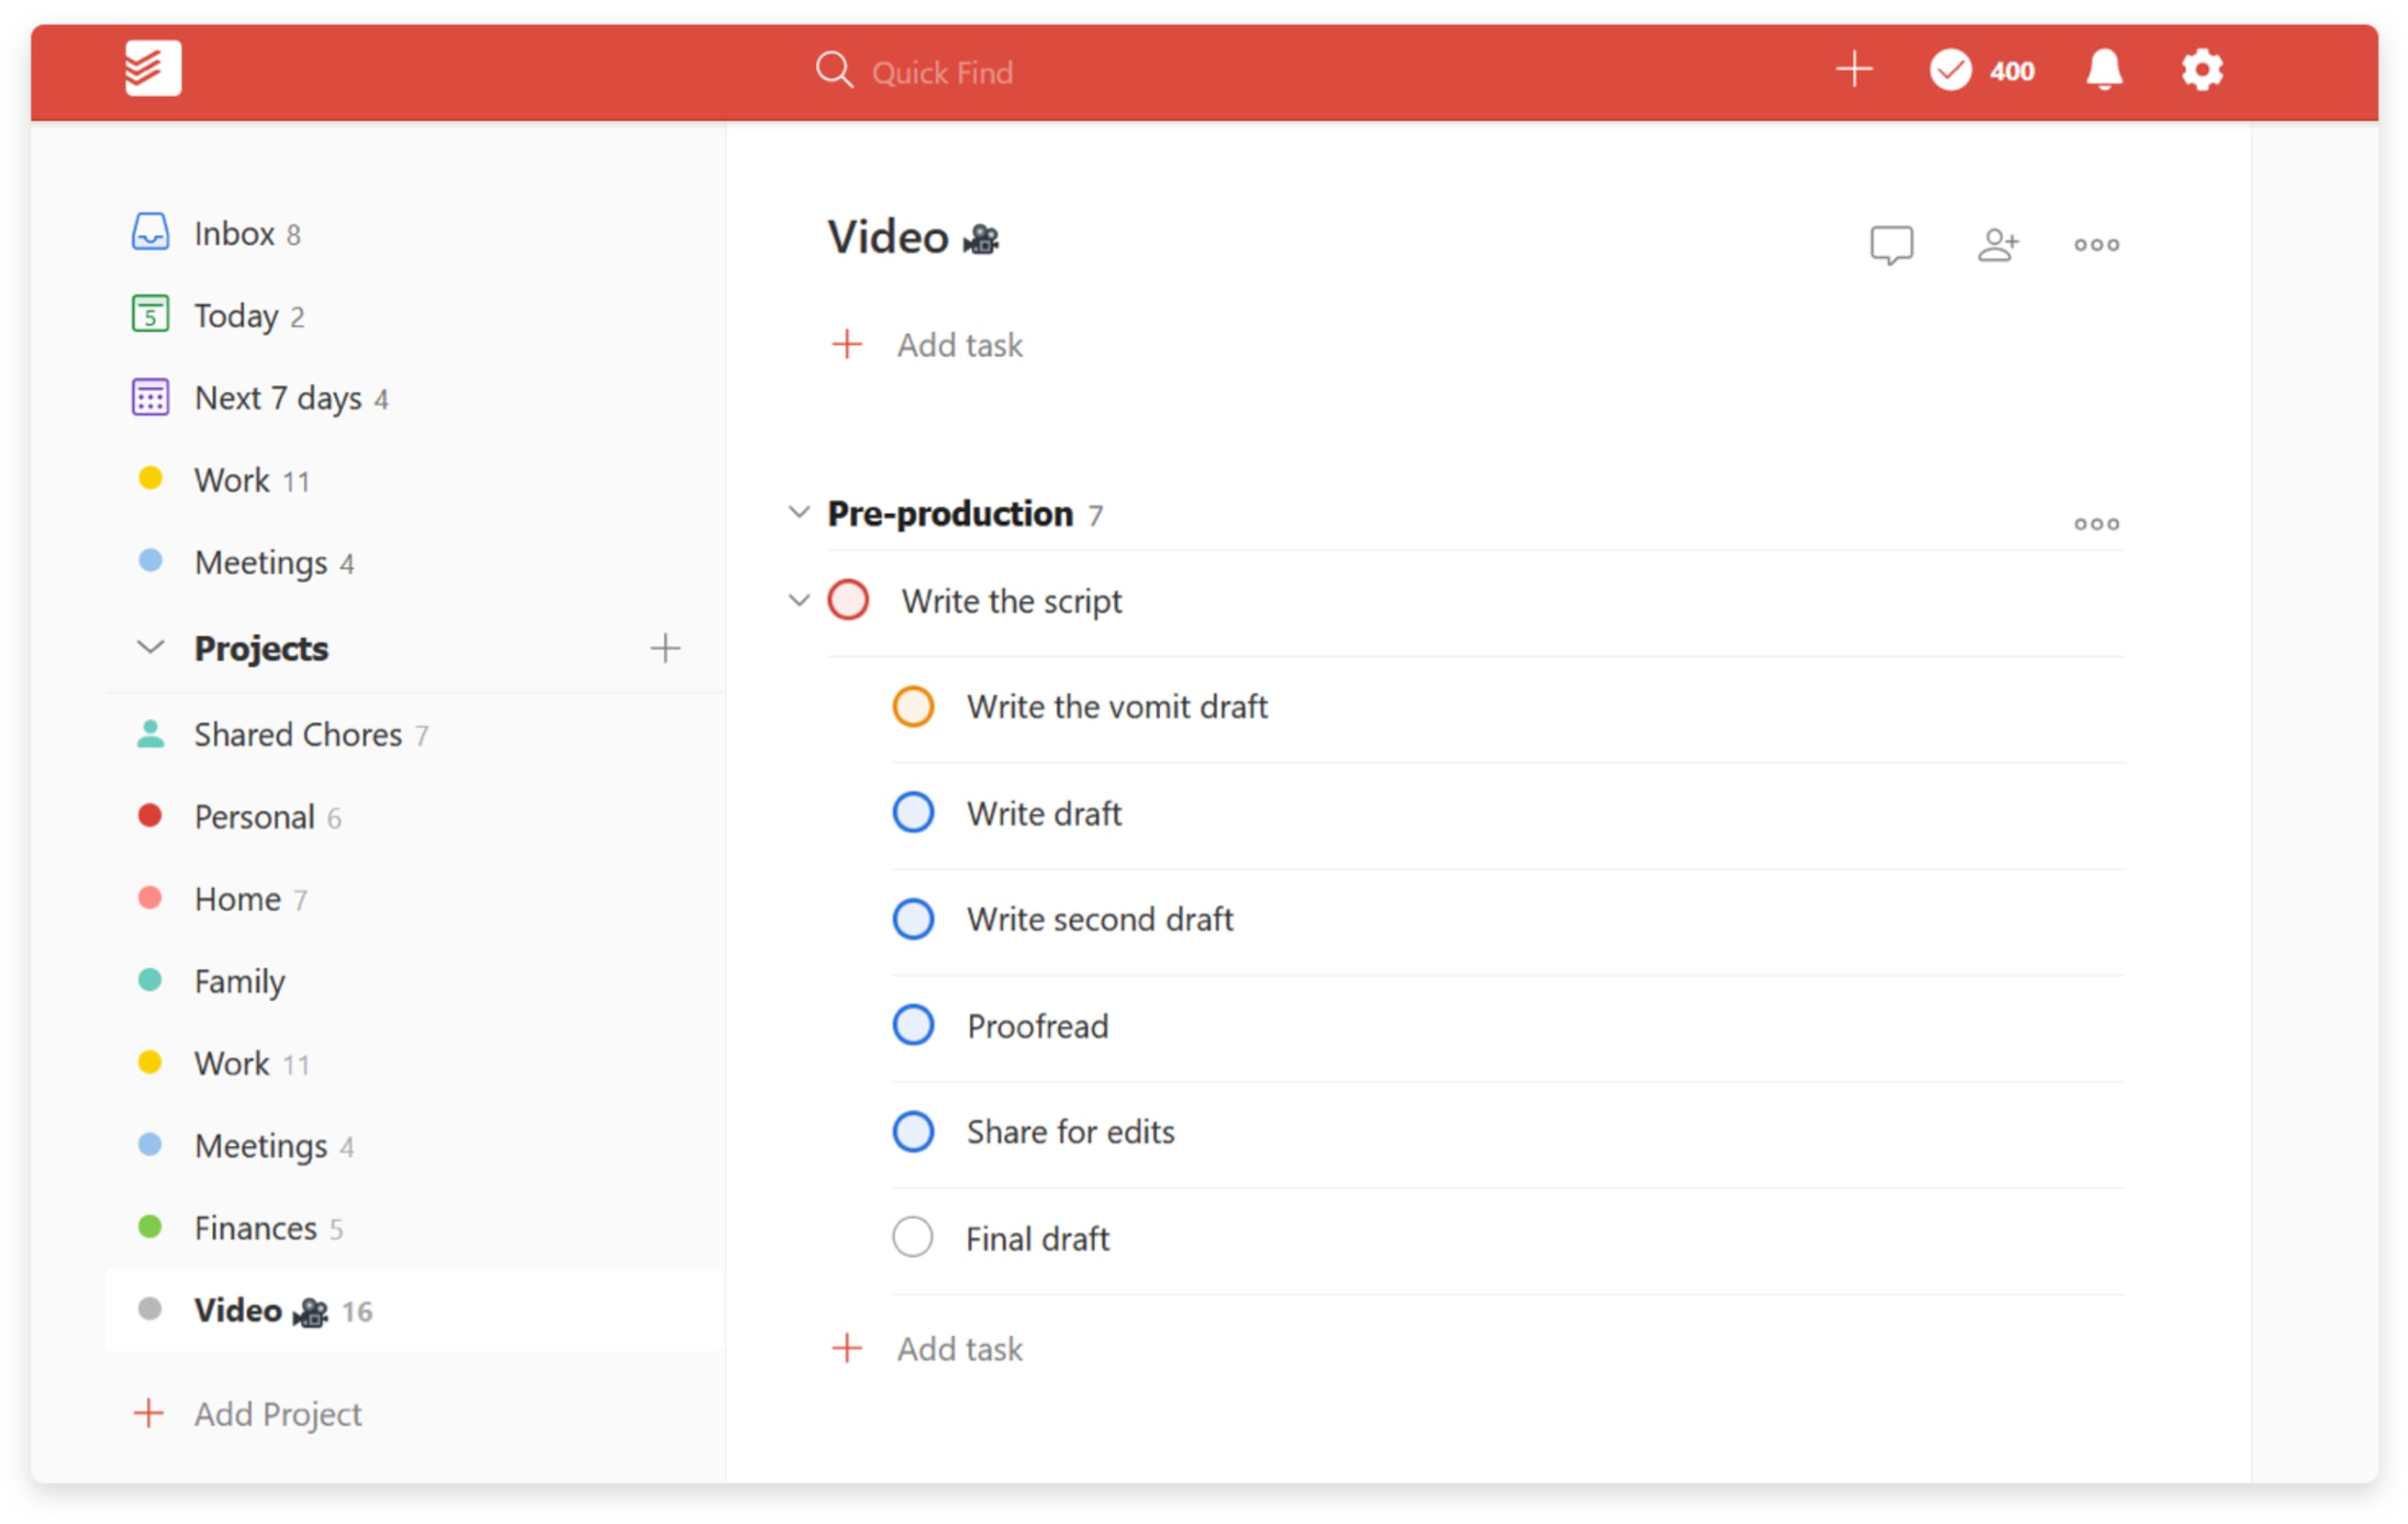
For instance, if you’re working on a video project, you could organize it into four sections:
- Pre-production
- Production
- Post-production
- Distribution
To create a section, add a colon at the end of any task to turn it into a section header. You can then drag and drop your tasks under the section header so they become sub-tasks. It’ll look something like this:
When you want to attach notes and files related to the entire project — as opposed to one specific task — use project comments.
Step 5: Schedule, prioritize, and share your tasks
It’s finally time to set some due dates. Start from your first task, make an estimate for how long it will take, double it, then type that due date into the task field. Move on to the next one and keep going until you get to the final task. Your schedule may (probably will) have shot past your final due date, but don’t worry about that just yet.
You’re going to want to know which tasks are important, which can wait, and which can be thrown out altogether. Remember, we’re still refining your vomit draft. Go back through your project and set a priority level for each task. Todoist priorities range from highest to lowest as p1 (red), p2 (orange), p3 (yellow), or p4 (no color).
You can set priorities in a way that suits your work style. One example would be prioritize tasks by how necessary they are to the project:
- P1 — Must finish.
- P2 — Nice to have.
- P3 — Finish if there is time available.
- P4 — Unnecessary. Can delete.
Now’s the time to make sure your plan actually works. If your due dates don’t line up with your final due date, you’re going to have to make some changes.Take a look at your lowest priority (p4) tasks. Are they absolutely necessary? This is the right time to, as Bruce Lee puts it, “hack away at the unessential” and delete any unneeded tasks.If you’ve done that and the schedule still doesn’t fit, resist the urge to squeeze your estimates to fit. Instead, delay your final due date. It’s a hard decision, but it’s better to push the date and finish early than to keep the impossible date and finish late. Finally, if you’ll be working with other people, now is the time to share your project and assign any relevant tasks to your collaborators. Your team can then complete tasks, communicate in the comments, and move the project forward together.
Step 6: Get to work
Time to start working! This is where all the planning pays off. Each day, simply check your Today view in Todoist to see what’s on deck. Your project next steps are listed from highest to lowest priority, making it easy to focus on the most important things first. No need to worry about the big picture — you’ve already done that work. Just focus on the next actionable step.
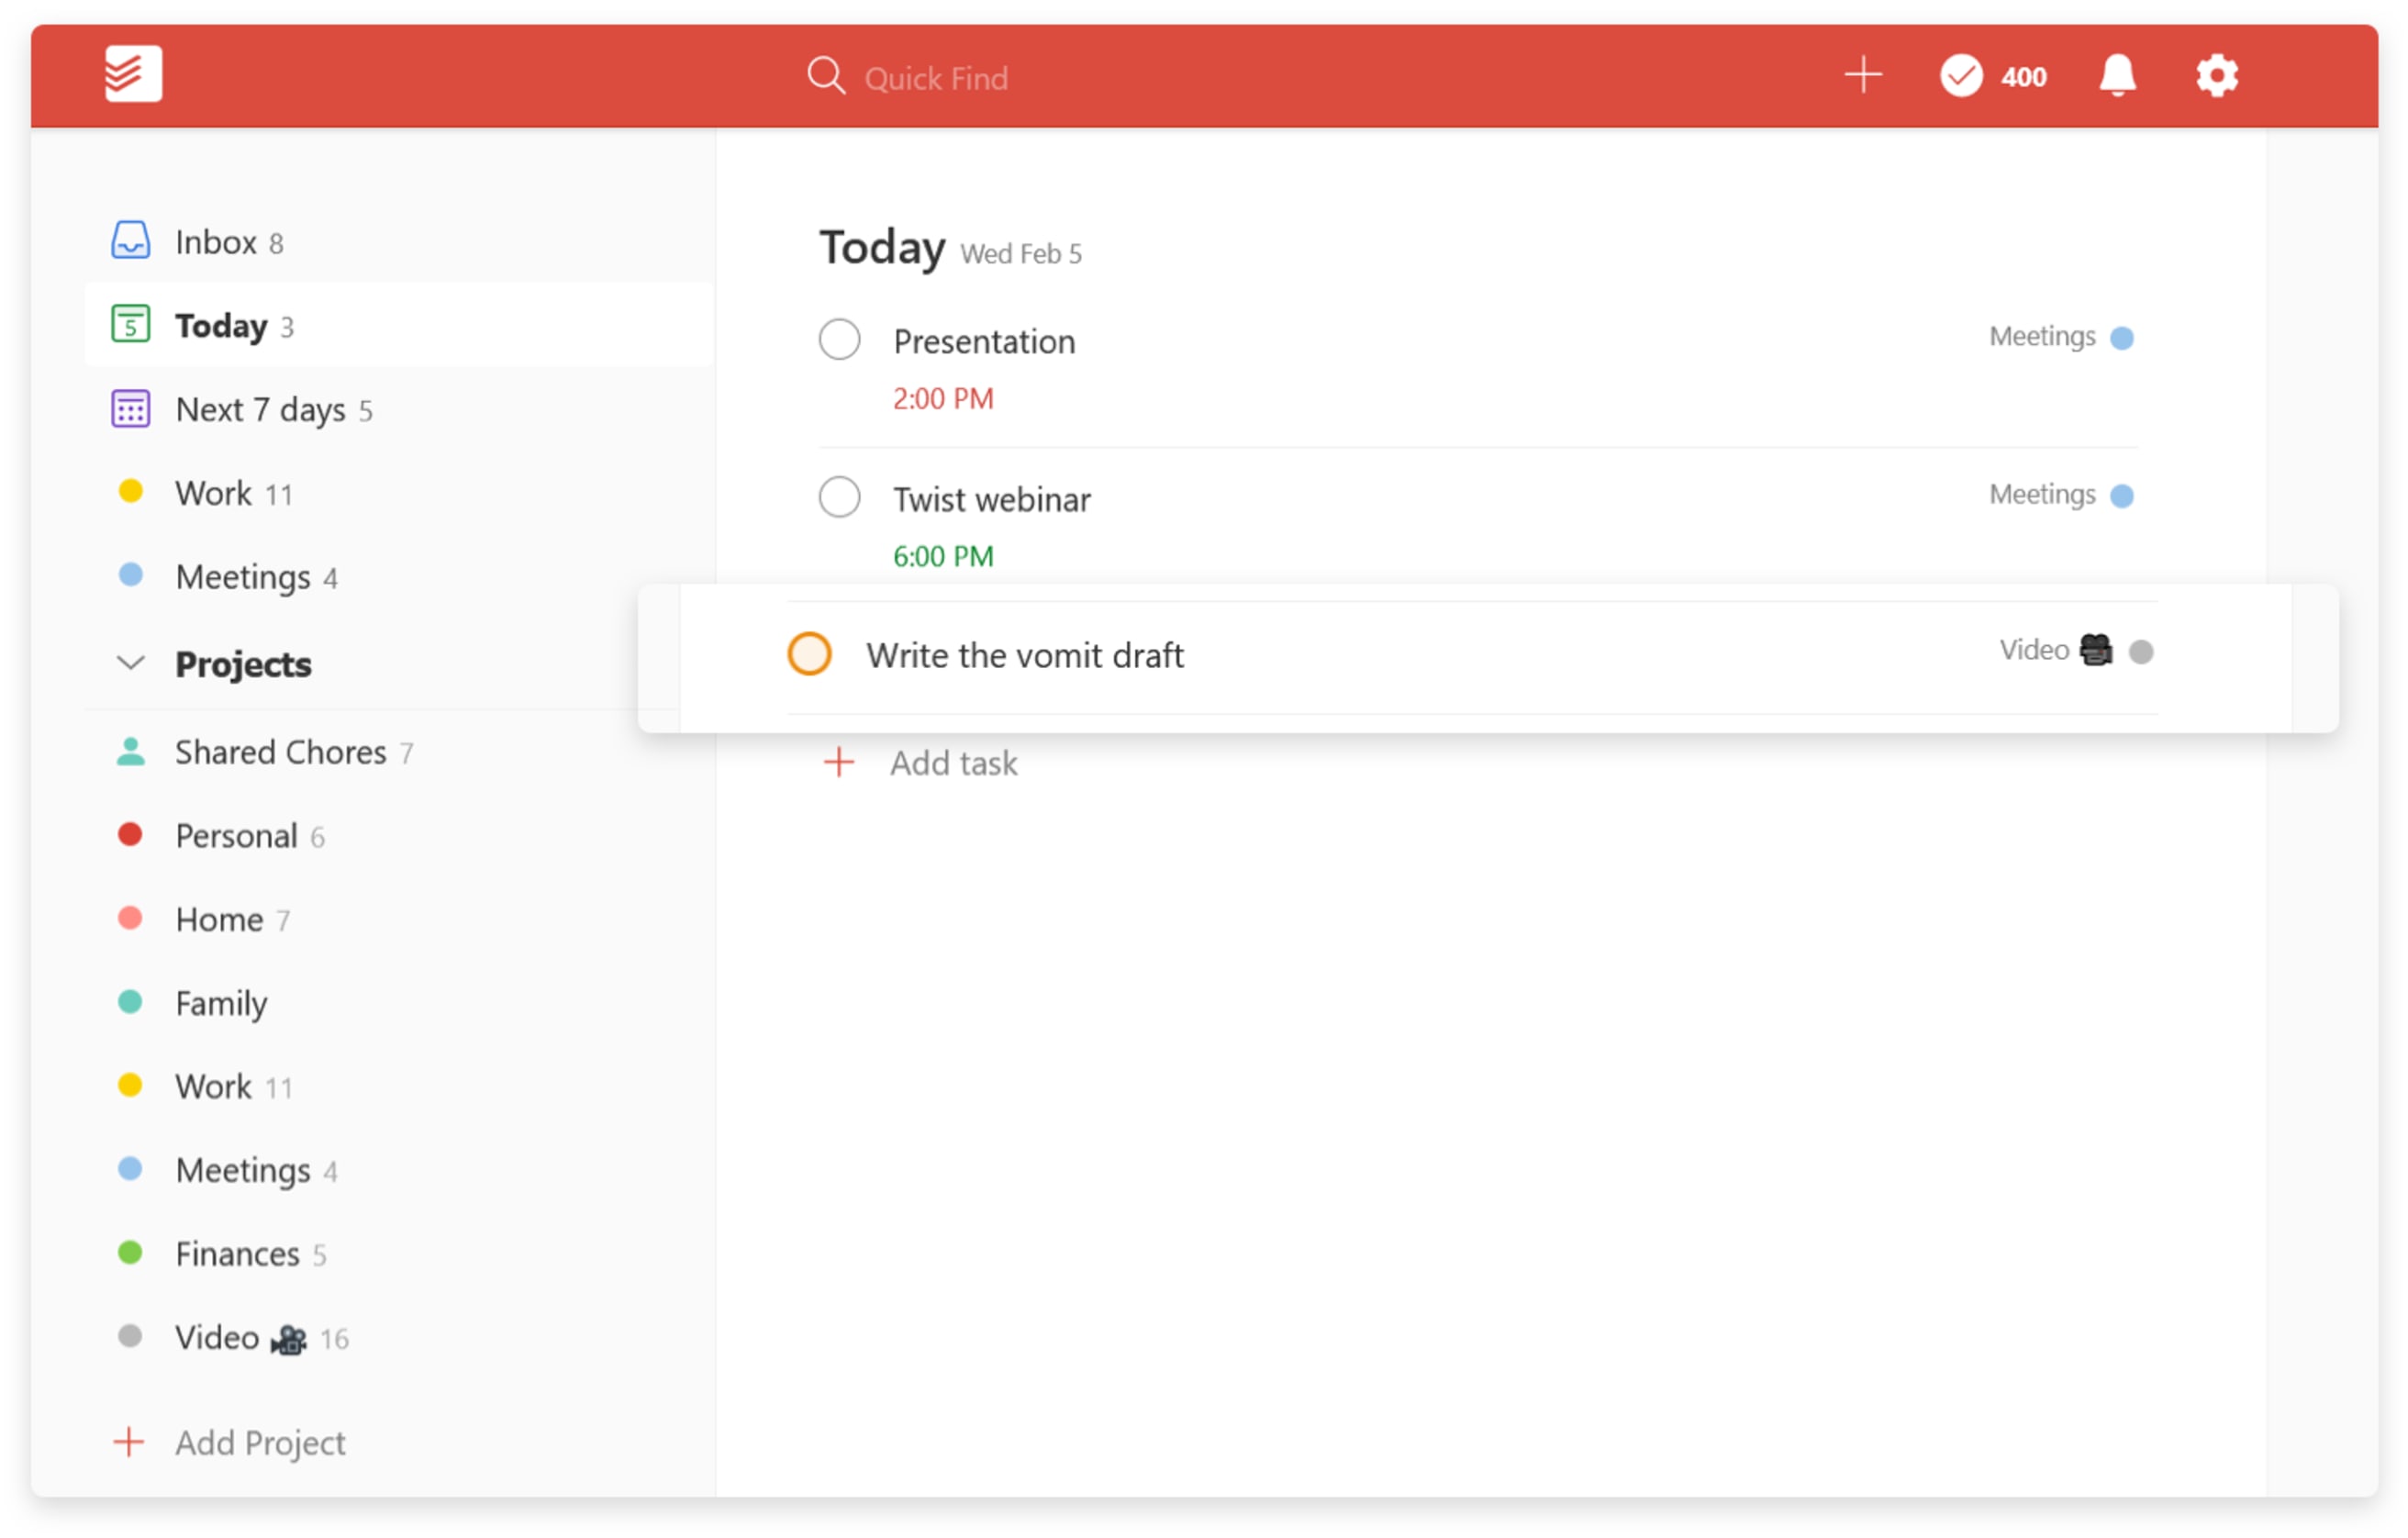
Get in the habit of checking your Today view whenever you sit down with your favorite caffeinated beverage in the morning. Make it a part of your daily routine.
Step 7: Stay on track
Of course, things won’t always go according to plan. New tasks are bound to come up, and due dates will inevitably need to be tweaked.
That’s why it’s important to review your progress. Set up a recurring weekly task on Fridays to review your completed work, preview the upcoming week, and adjust due dates as necessary.

If you live and die by your calendar, you can keep track of your tasks there too. Use the Todoist-Google Calendar two-way integration or import a Todoist project feed into any other calendar. If you’re the type of person that tends to forget about projects, set task reminders for yourself. You can receive a text message, email, or push notification at any given time, or even at a specific location. For example, you could set a reminder to work on a certain task when you arrive at the library.
Step 8: Finish strong
Congratulations, you’ve completed the final task on (or nearly on) time. Celebrate! 🎉
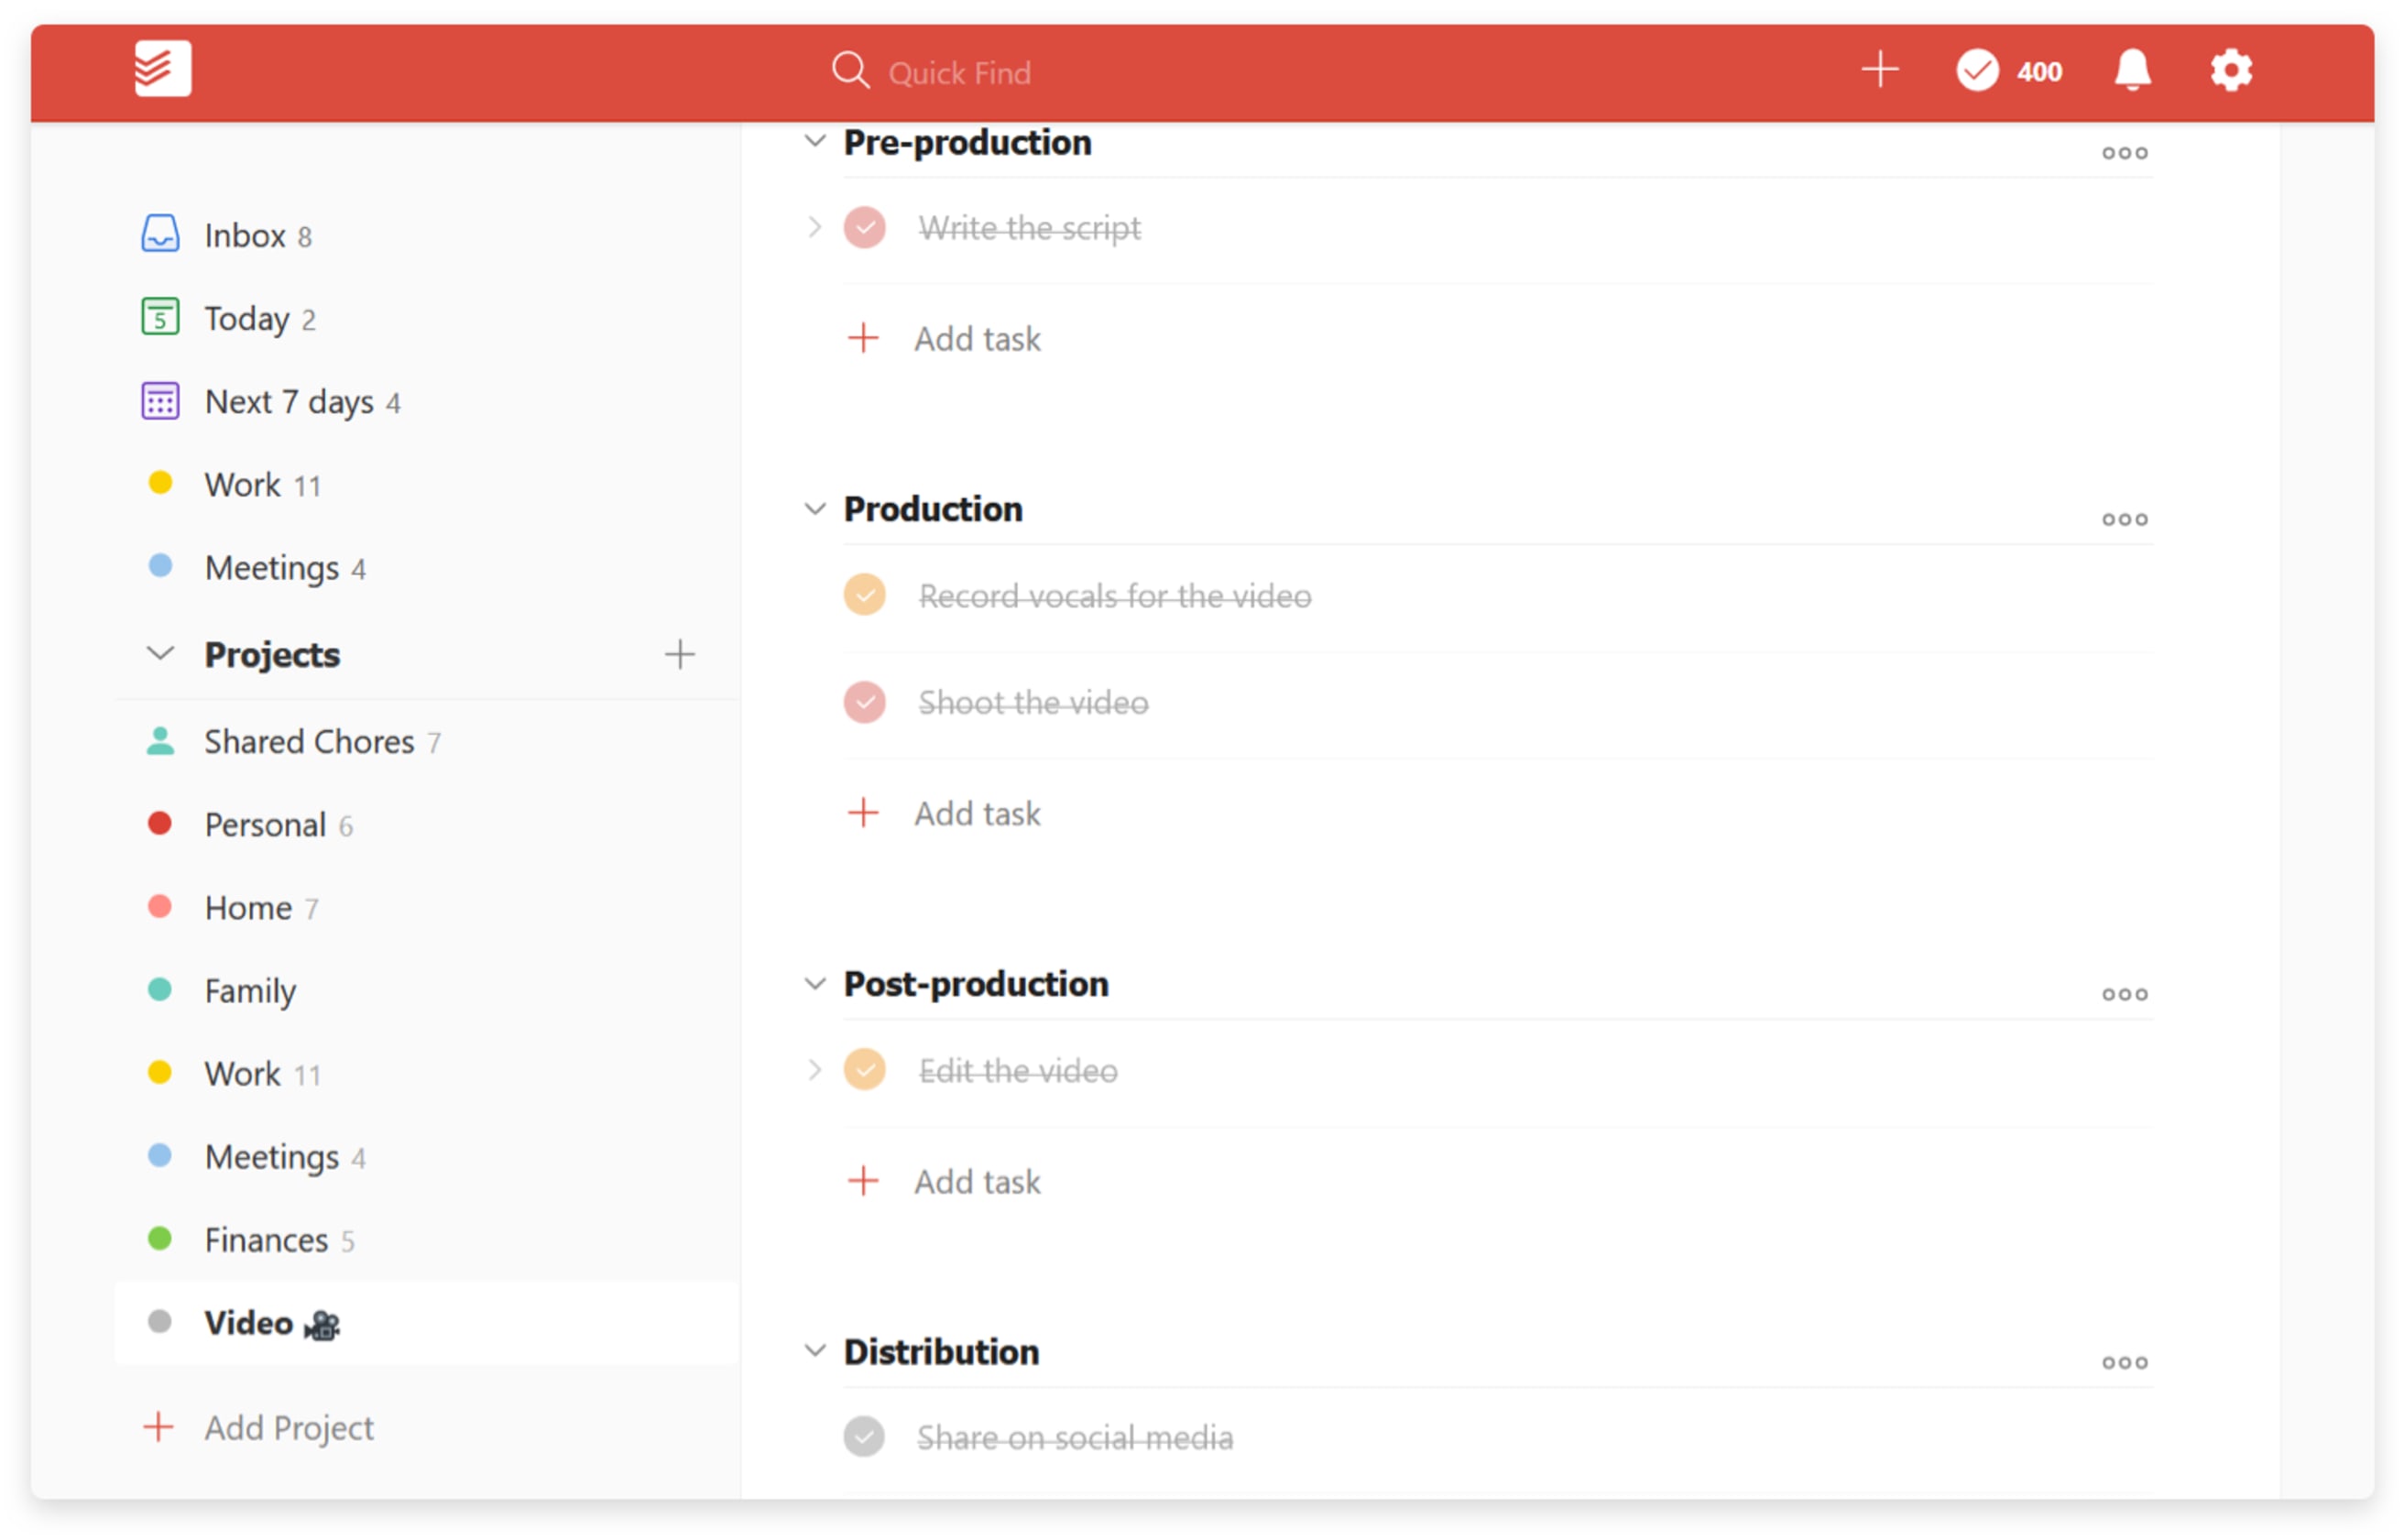
Looking to the future, if this is a project that you may have to complete again, uncheck all your tasks and then save the project as a template to reuse later.
To keep your Todoist as uncluttered as possible, archive the project to remove it from your active projects list. Keeping your Todoist project list clean will help you stay focused on the next big goal. 🚀
Discovering your preferred style for completing projects involves a lot of trial and error, but it’s easy to tell when you’ve got it right: You’ll be finishing projects on time, most of the time.
We hope these tips give you a good place to start. That said, be patient with yourself! Eventually, handling projects will become second nature and that’s when the fun begins — you’ll be able to complete projects that you never thought possible.
Good luck with your next project! Share what you’re working on — or your own project tips — with us on Twitter @Todoist.


